How to print our resin models
Crosslances is a studio that has always had an eye on the customer, and tries in every way to assist and coddle its supporters.
Therefore, we thought it would be useful to share our experience in resin prints.
This is not meant to be a guide but a sharing of our experiences, with all our mistakes, consideration and tricks that we have learned over time and that we hope will help you too.
Creation of supports
Our files are created with the help of chitubox, a free software widely used as a slicer for a large number of resin printers.
Our current reference printer is a Phrozen sonic Mini 4k,,an inexpensive printer with excellent output, accessible to all, so ideal as an example of our tests.
Based on this we created after several print tests our support set up.
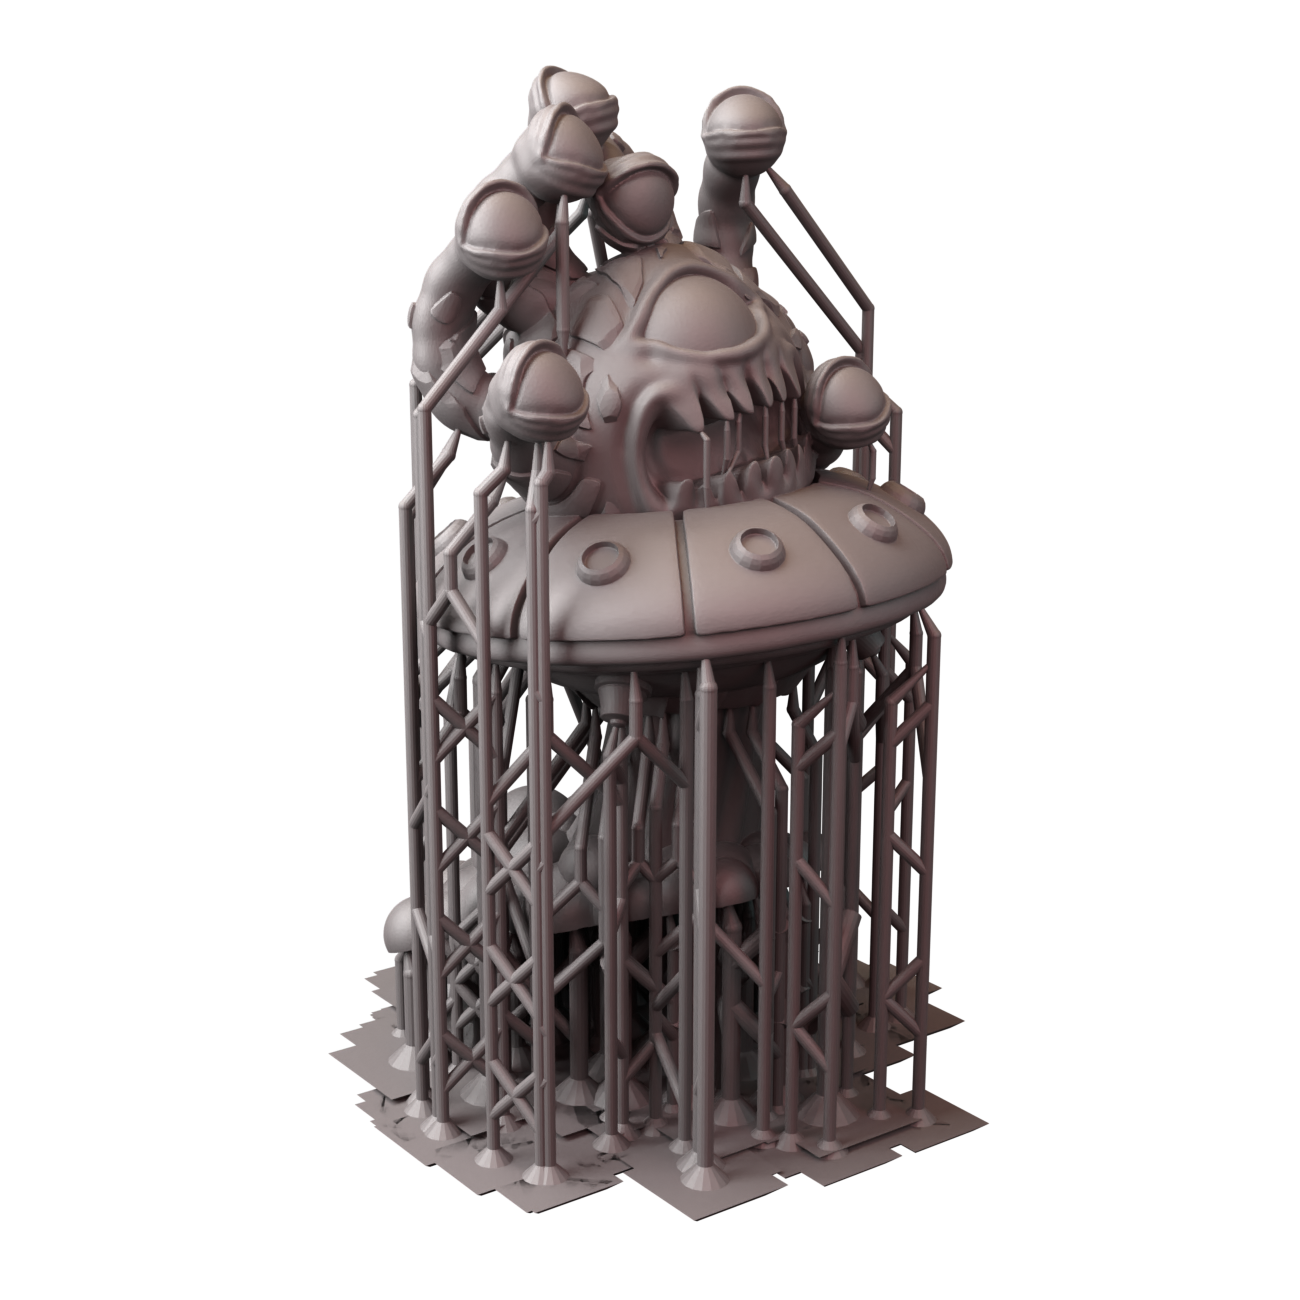
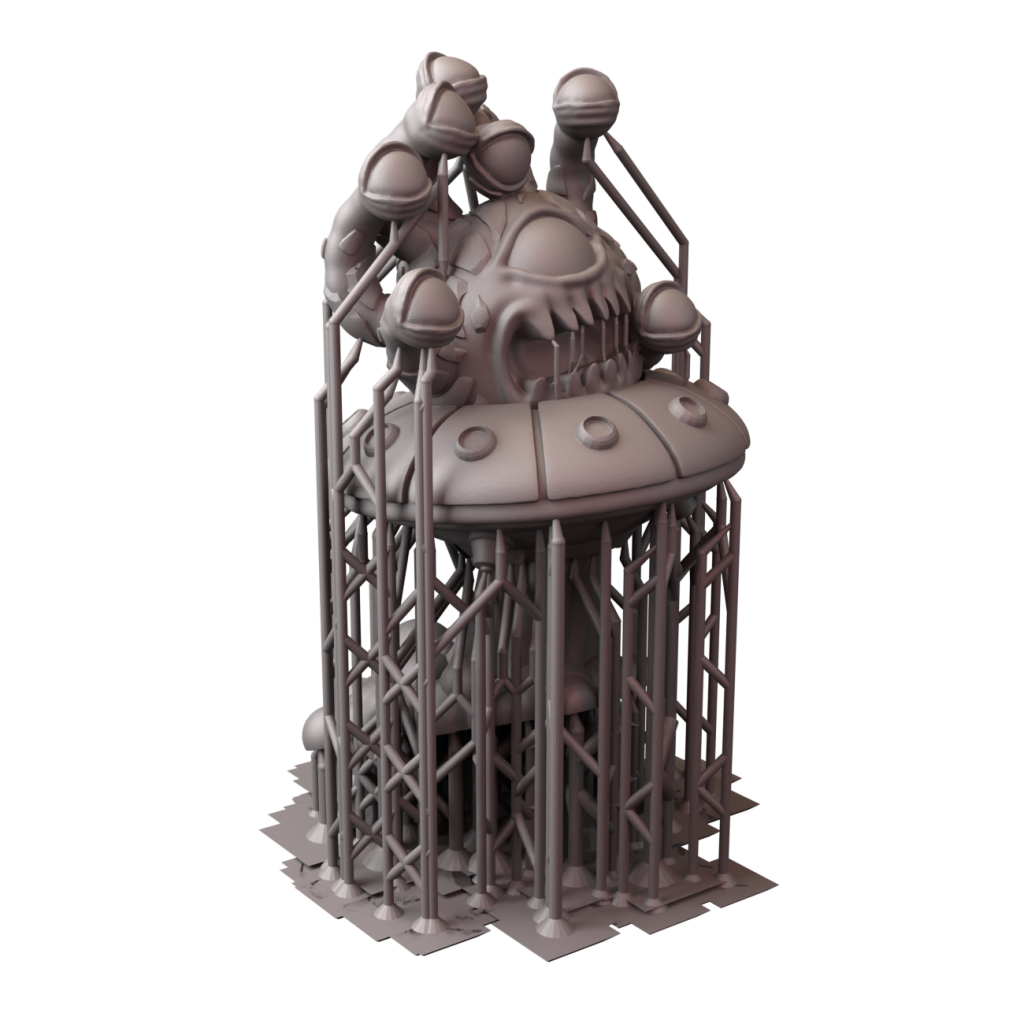
Which we share here now with you: Supports
We have been able to make supports that are able to support the many details we create, and at the same time can be detached easily.
Some considerations and advice on supports:
Some resins have such physical characteristics that they require multiple supports, sometimes even where they do not seem necessary.
This is because the supports we make are very fine to be detached easily, but this results in the structure supporting the miniature sometimes wobbling as the plate moves during Printing.
These wobbles can sometimes result in print failures because some supports break, or because they suffer slide.
This is why our models often have some larger “medium” supports placed at the lowest points of the miniature, and even sometimes an excess of the supports themselves.
This, however, while making cleaning more difficult, exponentially increases the chances of printing success.
In any case, we provide the File chitubox, so you can customize your own printing experience.
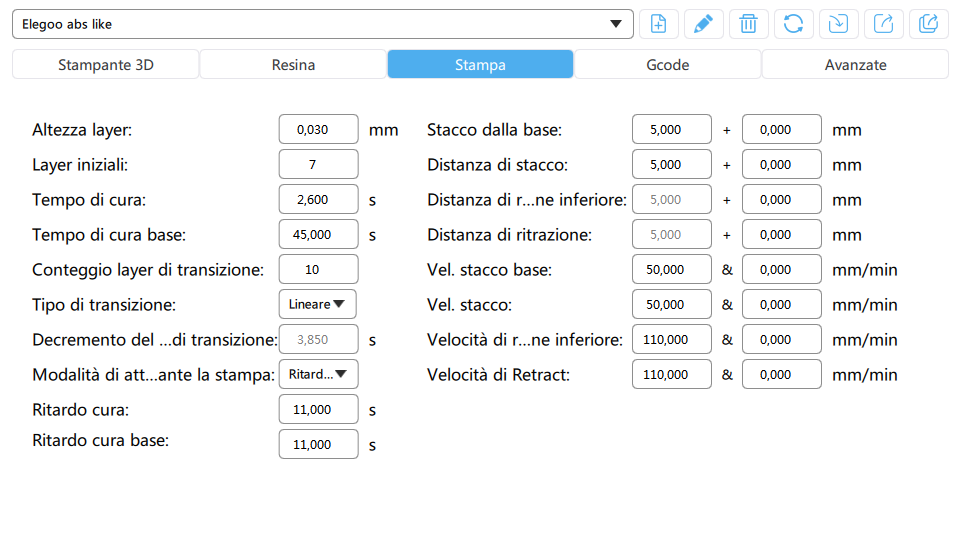
Print settings
This part is particularly difficult to be able to give precise directions.
In fact, the variables are endless.
The resin and the printer used can totally change the data, from exposure times to the retract speed of the printing plate.
What we feel like reporting based on our experience on the subject is this:
-Before printing with a new resin, or printer, do a test, you can find hundreds of them on the internet.
Repeat the test by changing the time parameters until the print looks good.
-Use a tool to calculate the delay of care.
We share it with you; it has been critical for us:
-If you have found the times and want to change the layer height, it is useful to consider increasing or decreasing the times by 15% for every 10 microns more or less.
-Sometimes the print fails and we only find the supports stuck to the print plate at the end of the process.
Often it is due to the speed of departure from the base.
Here too it depends a lot on the resin used, more or less elastic, more fragile or not.
The suggestion we give is that a slow detachment speed is not always better, on the contrary.
A slow detachment can make the eff more resistant to detach from the print, making a “glue” effect, risking breaking the finest parts, such as the tips of the supports.
Sometimes a quick and decisive detach causes the print to suddenly detach from the fep without offering any resistance.
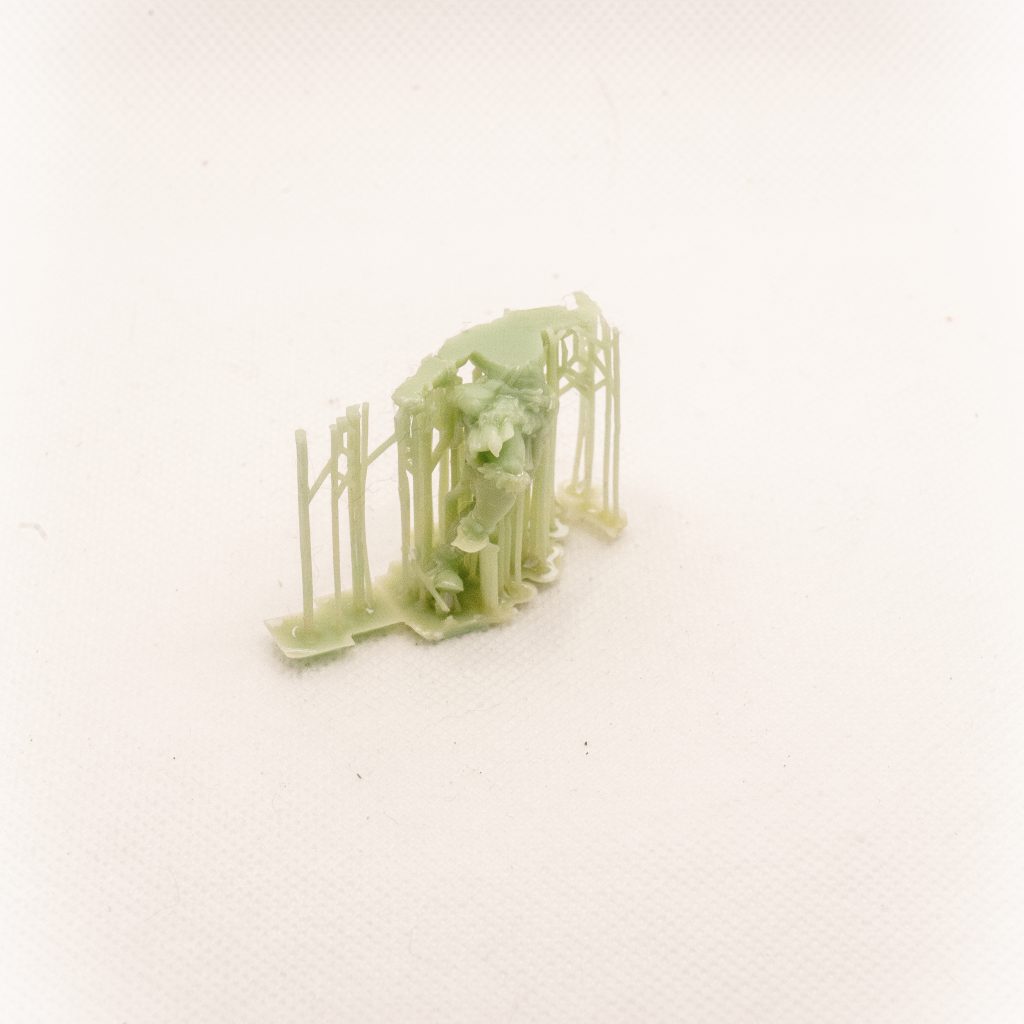
After printing
After printing, we need to clean our miniature from resin residue and peel off the supports.
To do this we use a specially created elegoo curing station.
Inside we use an alcohol-based cleaner with which we have had very positive feedback, but isopropyl alcohol is equally suitable.
Once the piece is washed, to detach the supports we soak it in lukewarm water, this allows us to detach the supports very very easily, with just the help of our fingers, at most we help with a razor blade for the larger supports that resist.
Once the piece is cleaned, we put it back in the UV machine for 5-10 minutes and the miniature is ready!